
Mallet Finger
A Mallet Finger is the result of the finger being in an extended position and forced into flexion by a direct trauma. The extensor digitorum tendon is avulsed from the base of the distal phalanx. The tension of the flexor tendon pulls the distal phalanx into flexion giving the appearance of the head of a mallet.
The Kinesio Taping Technique will assist by limiting the distal phalanx movement into flexion. If the patient has sustained a mallet finger, which has resulted in the extensor tendon being avulsed, this needs to be treated in a splint, or surgically repaired. If the patient has sustained a mild injury, recovering from treatment in a splint or surgery, the Kinesio Taping Method will be beneficial.
APPLICATION OF THE FUNCTIONAL CORRECTION TECHNIQUE TO LIMIT DISTAL PHALANX FLEXION.
|
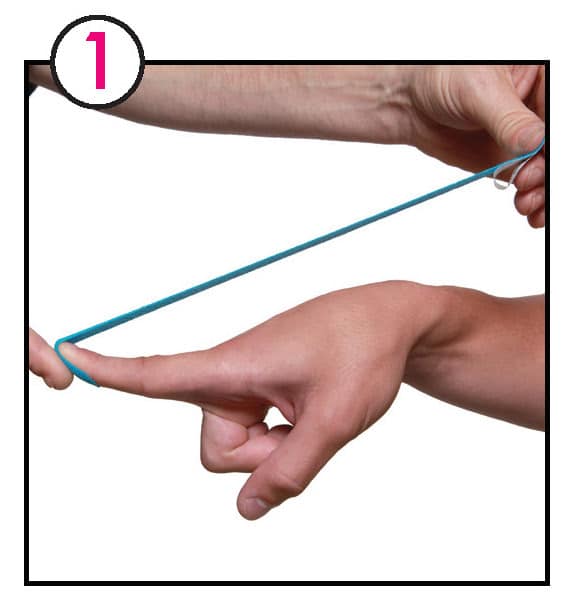
1. Begin by measuring a Kinesio I strip from the palmar surface of the distal tip, over the fingernail and continuing past the metacarpal phalangeal (MCP) joint of the injured finger. Place distal anchor of the Kinesio I strip on the palmar surface of the injured joint with no tension and wrap around to the dorsal surface of the injured finger. |
|
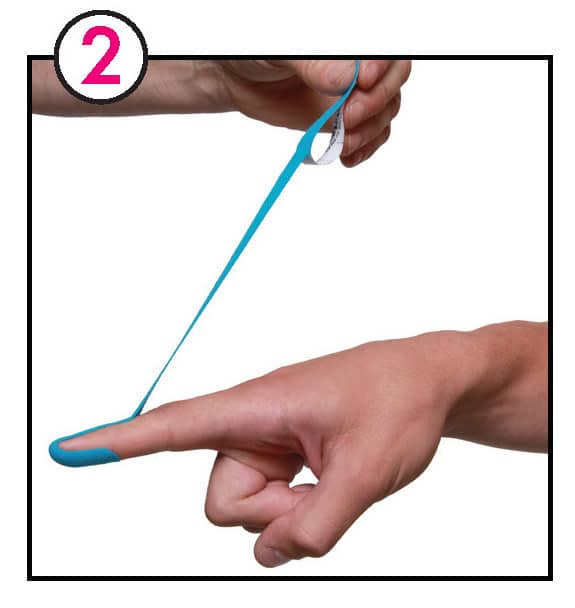
2. With one hand hold the distal anchor which has been applied to the distal phalanx, to ensure no tension will be added. Place the patient’s finger into as much extension as pain or range of motion allows. Apply functional correction, 50+% of available tension to the Kinesio I strip. Apply the proximal anchor of the Kinesio I strip to the dorsum surface of the injured finger. Apply tension until the Kinesio I strip is minimum of 2” distal to the MCP joint. The longer the anchor, within reason, the effectiveness of adhesion will be maximized. |

|
3. While holding both the distal and proximal anchors have the patient move into flexion. Rub to initiate adhesive prior to any patient movement. This is important when using higher tension levels. Vigorously rub to initiate adhesive prior to any further patient movement. A second functional correction strip may be applied depending upon the size of the individual and the degree of finger movement limitation desired. |
|
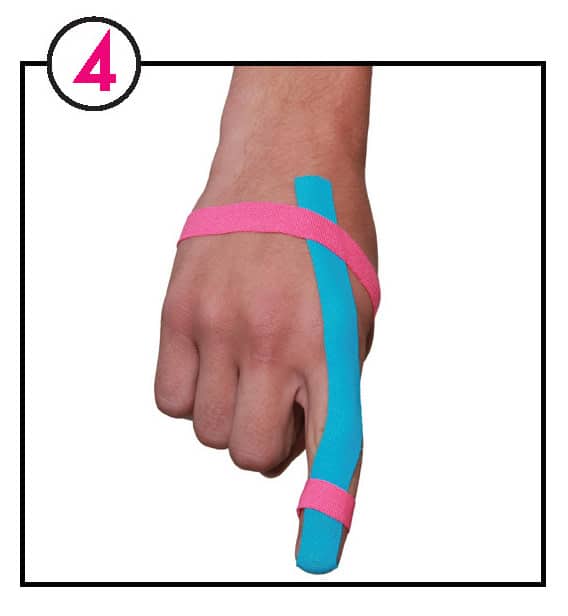
4. Apply an anchor at both the tip of the injured finger and as close to the MCP joint as possible. This will assist in providing better support and limit the Kinesio Tex Tape from coming off the skin due to the high tension used during application. A splint may be worn directly over this technique. |
 Get More Taping Applications Like This In Clinical Therapeutic Applications of the Kinesio Taping Method: 3rd Edition
